
INTRAMEDULLARY NAIL | Lateral Parapatellar Approach - Case 03

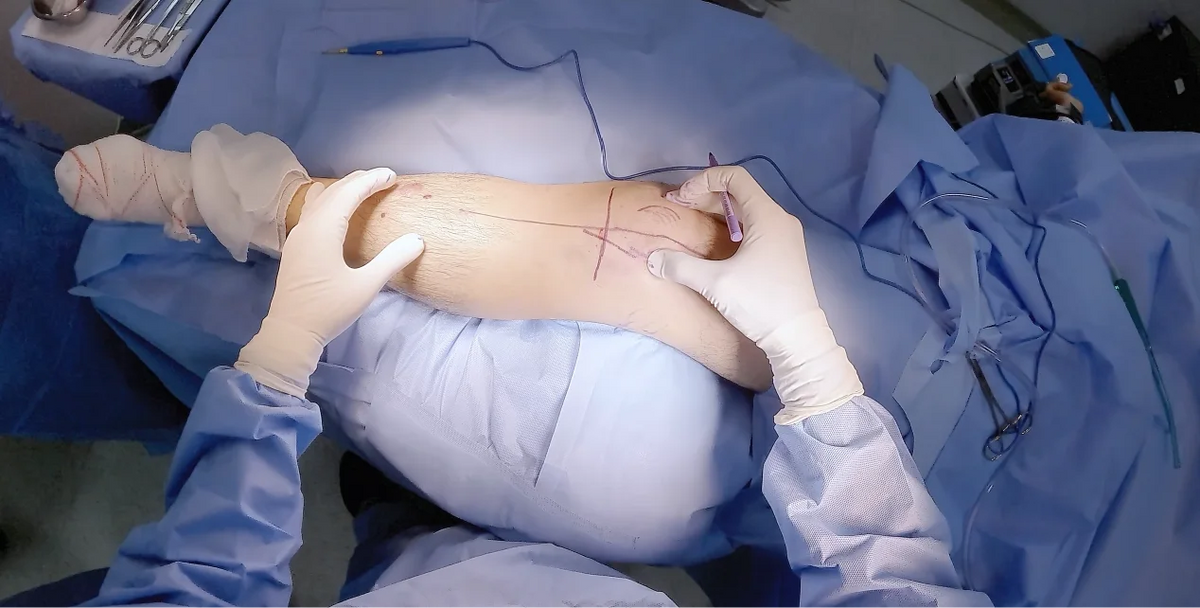
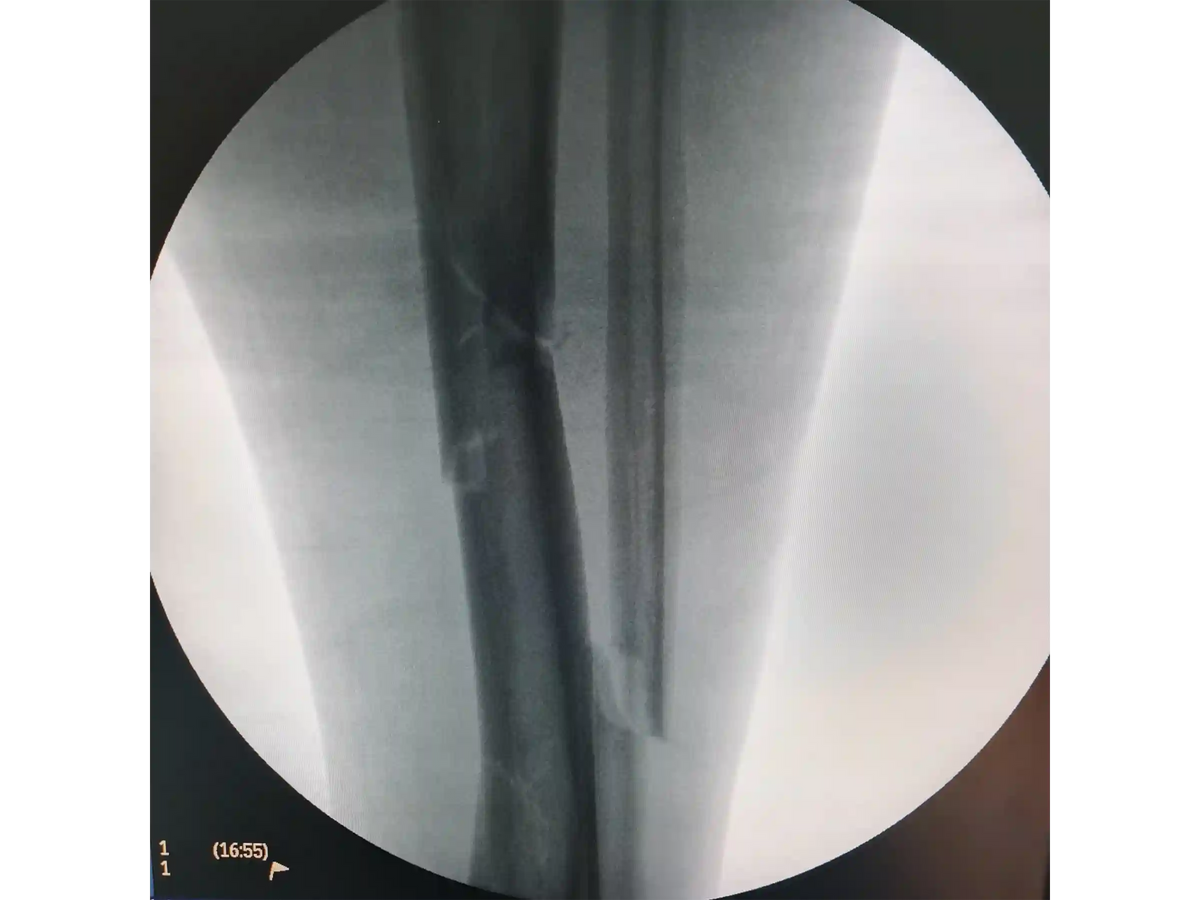
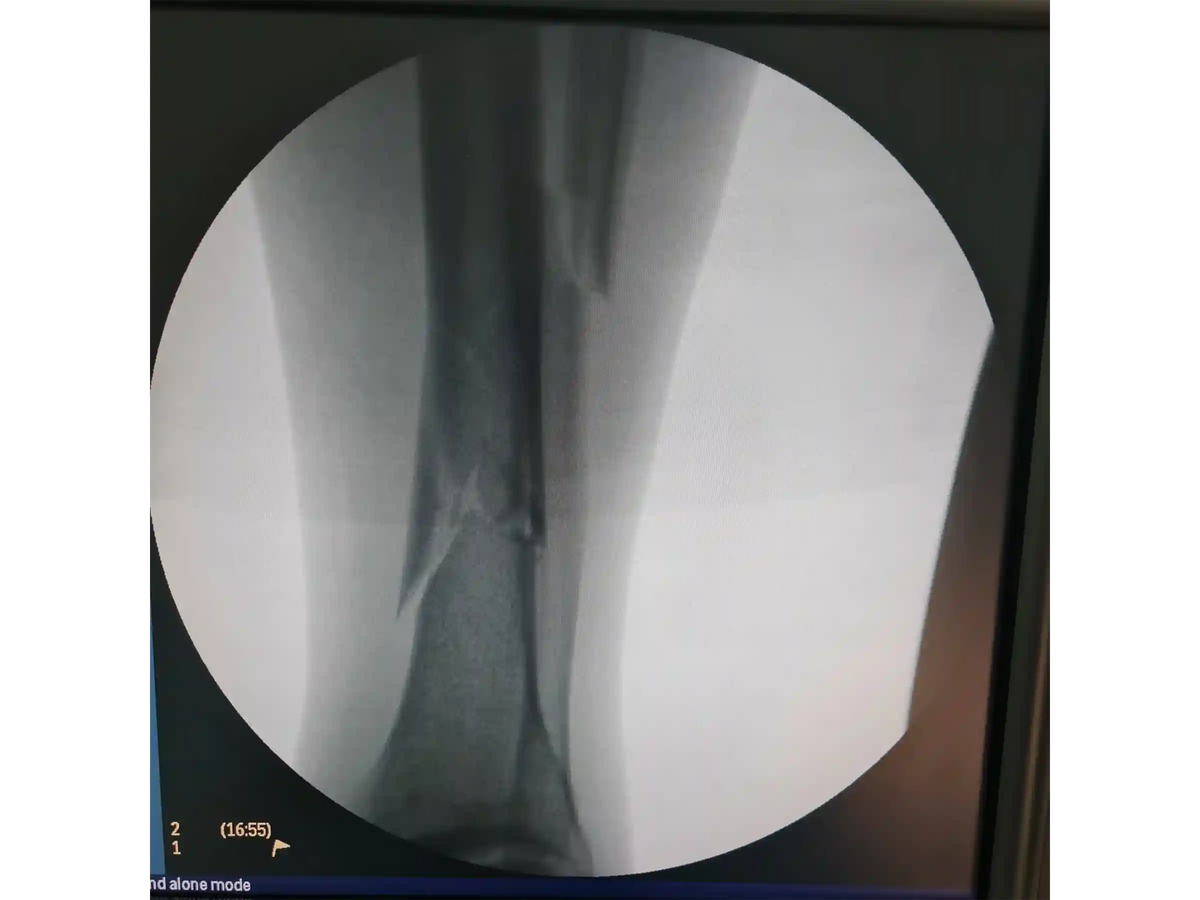
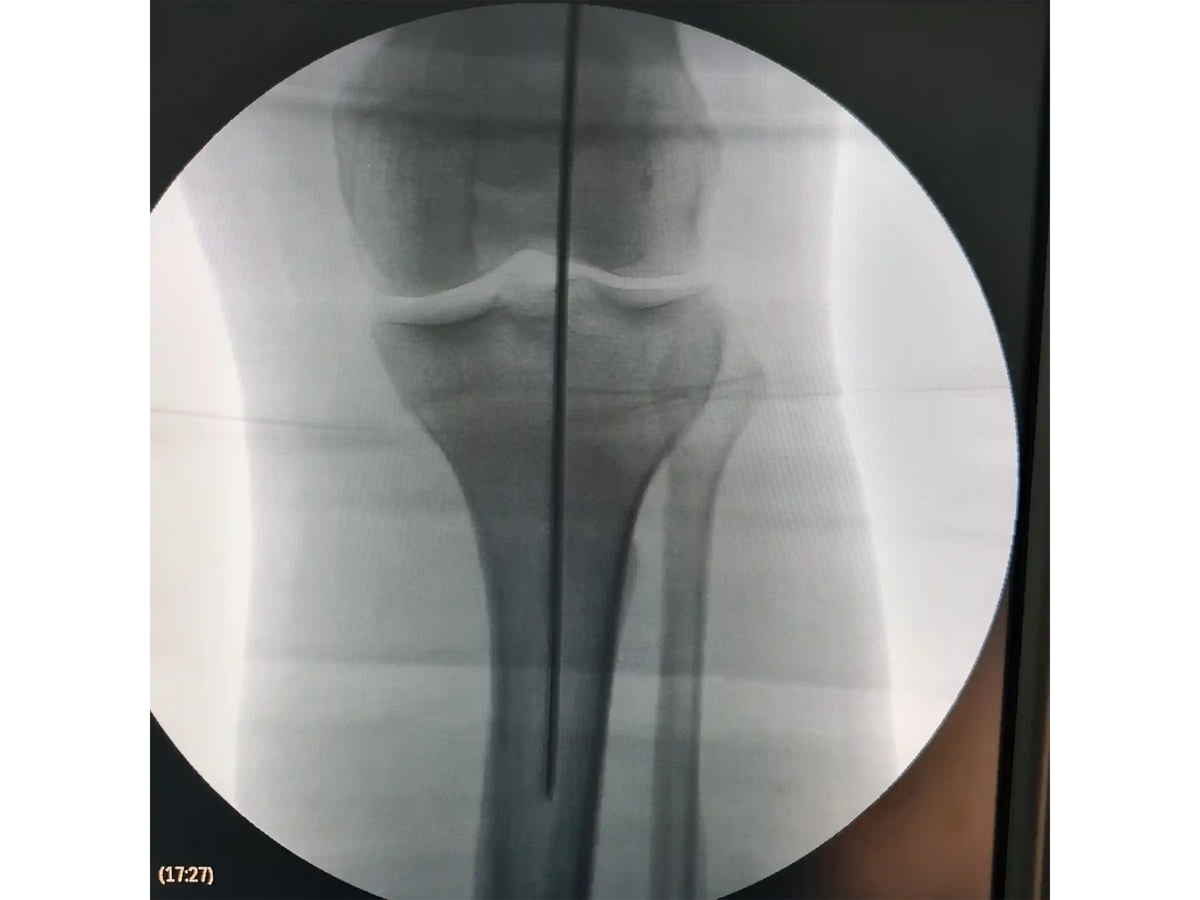
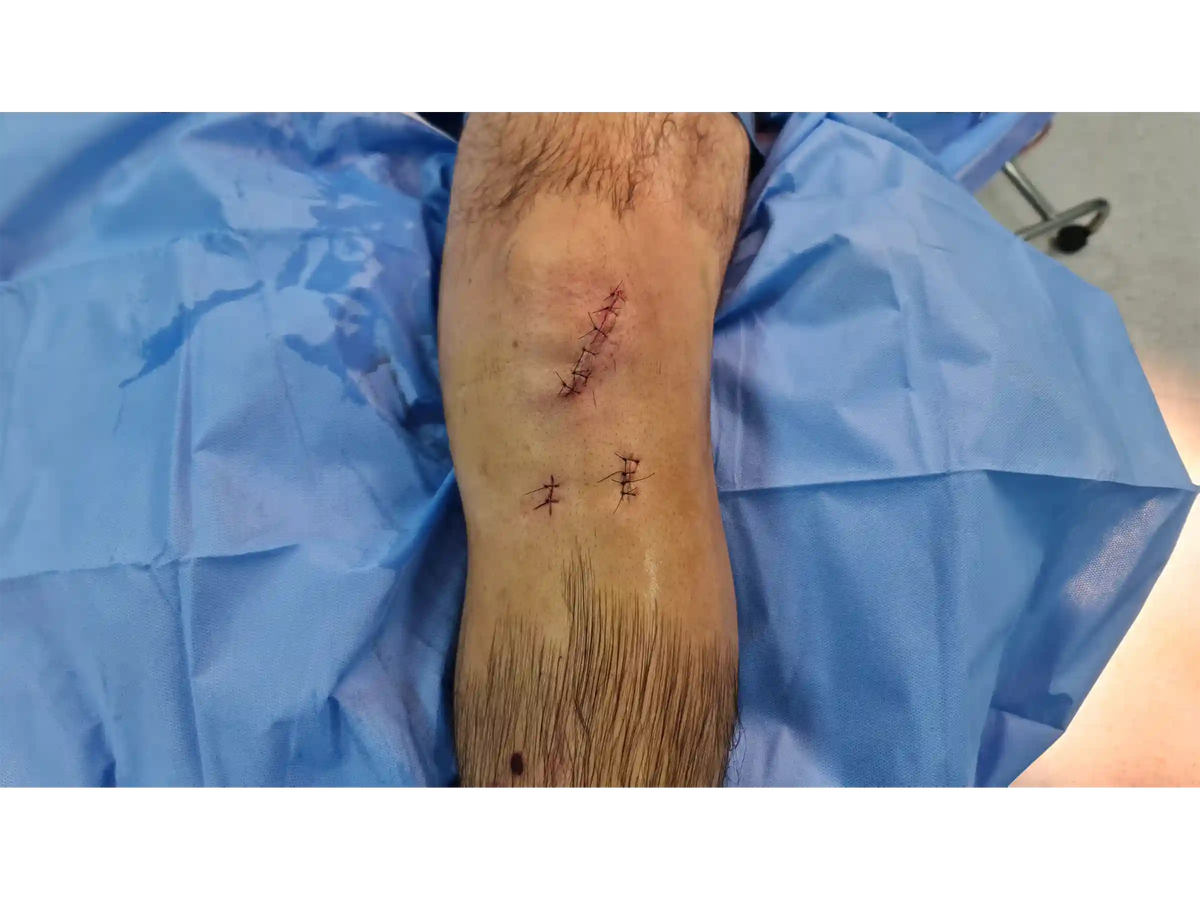
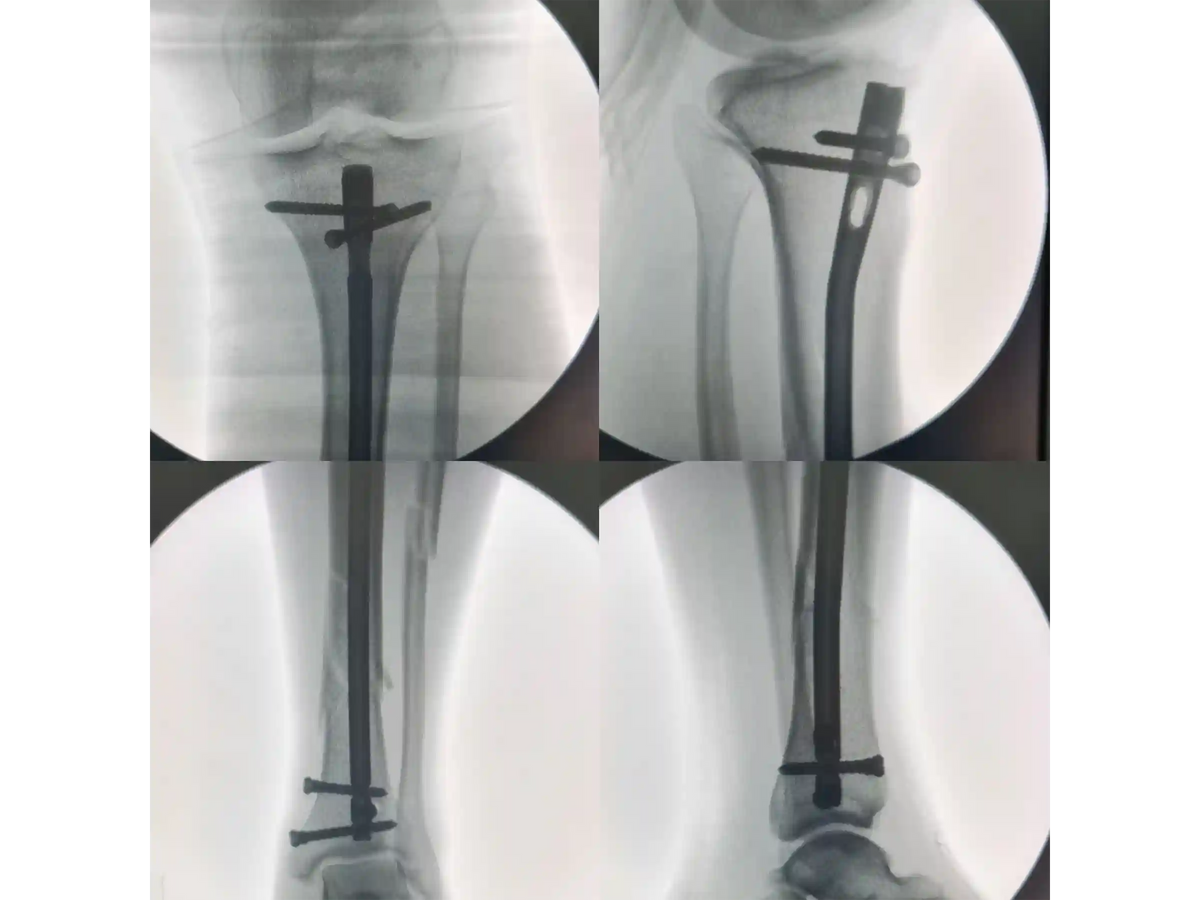
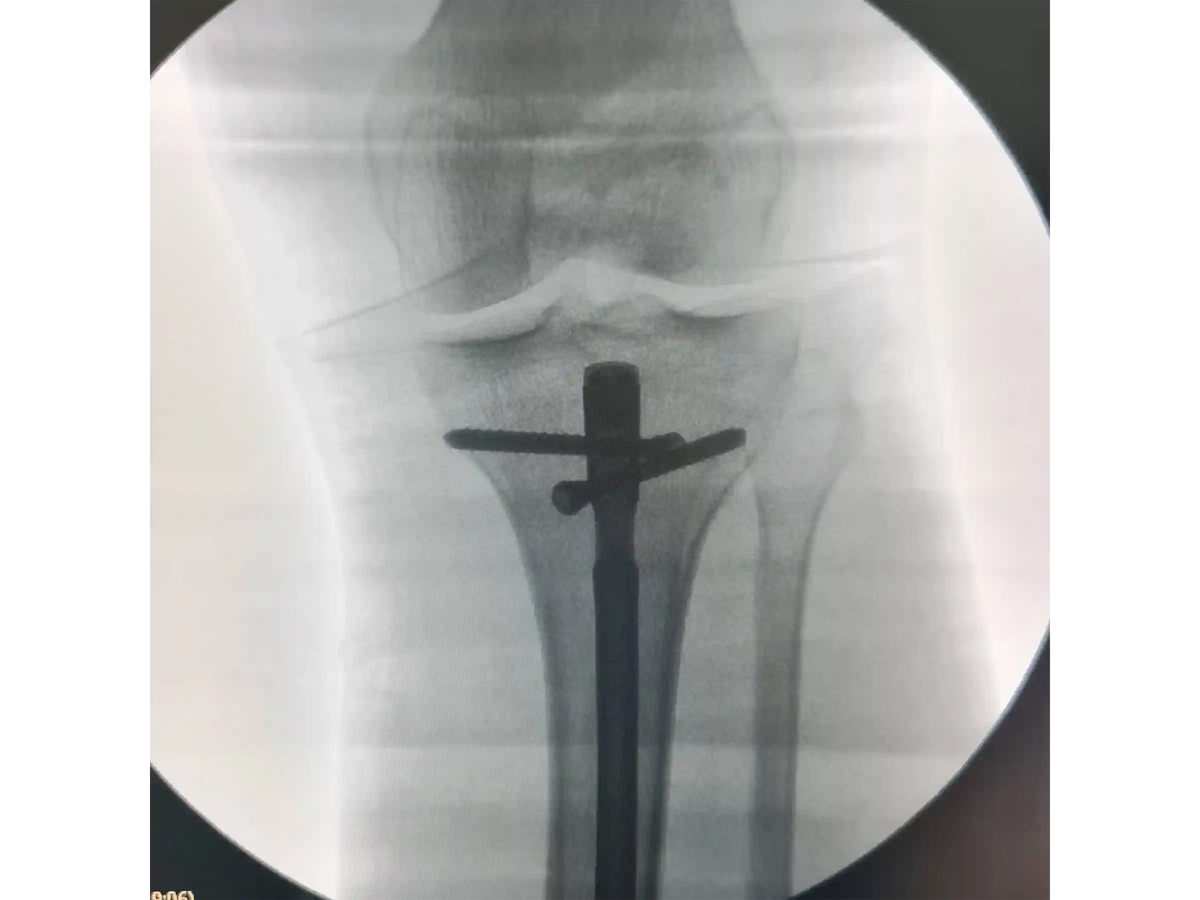
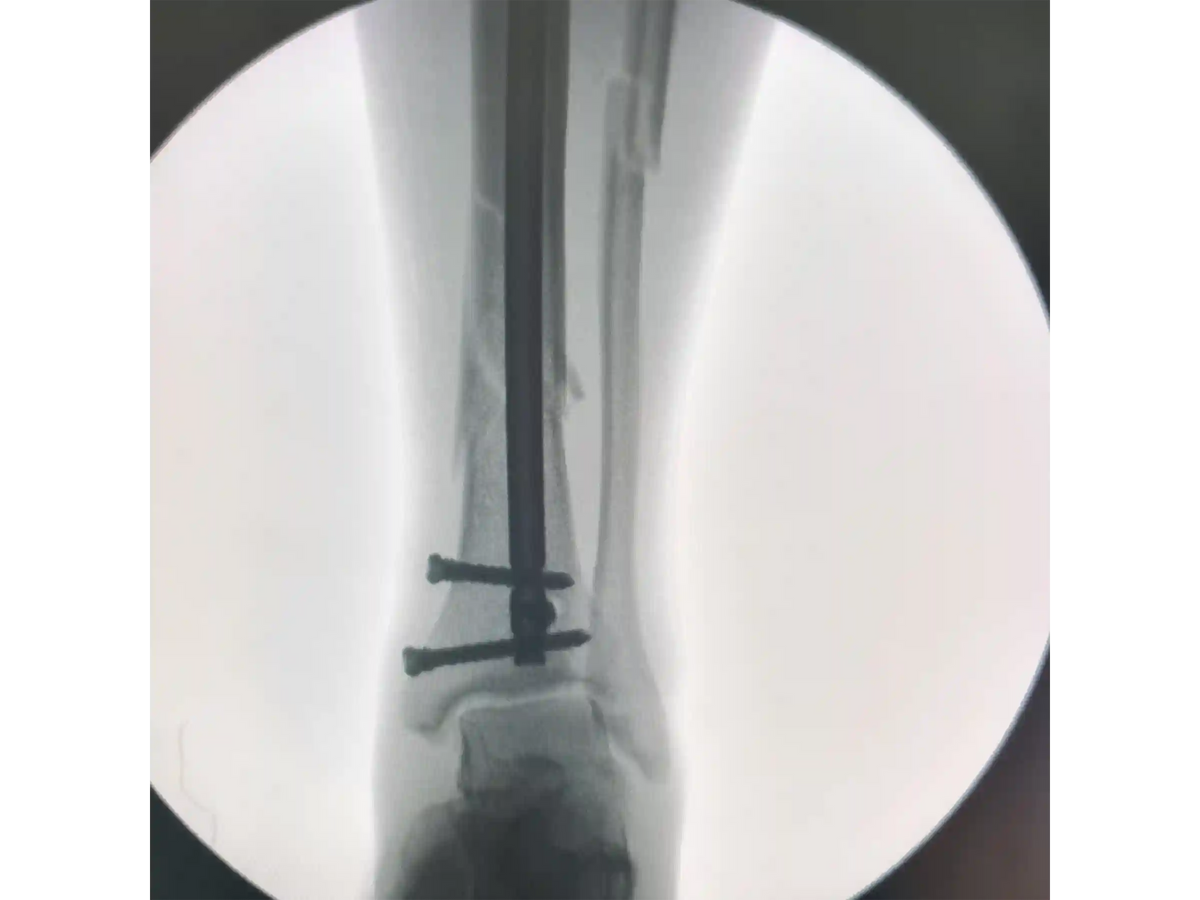
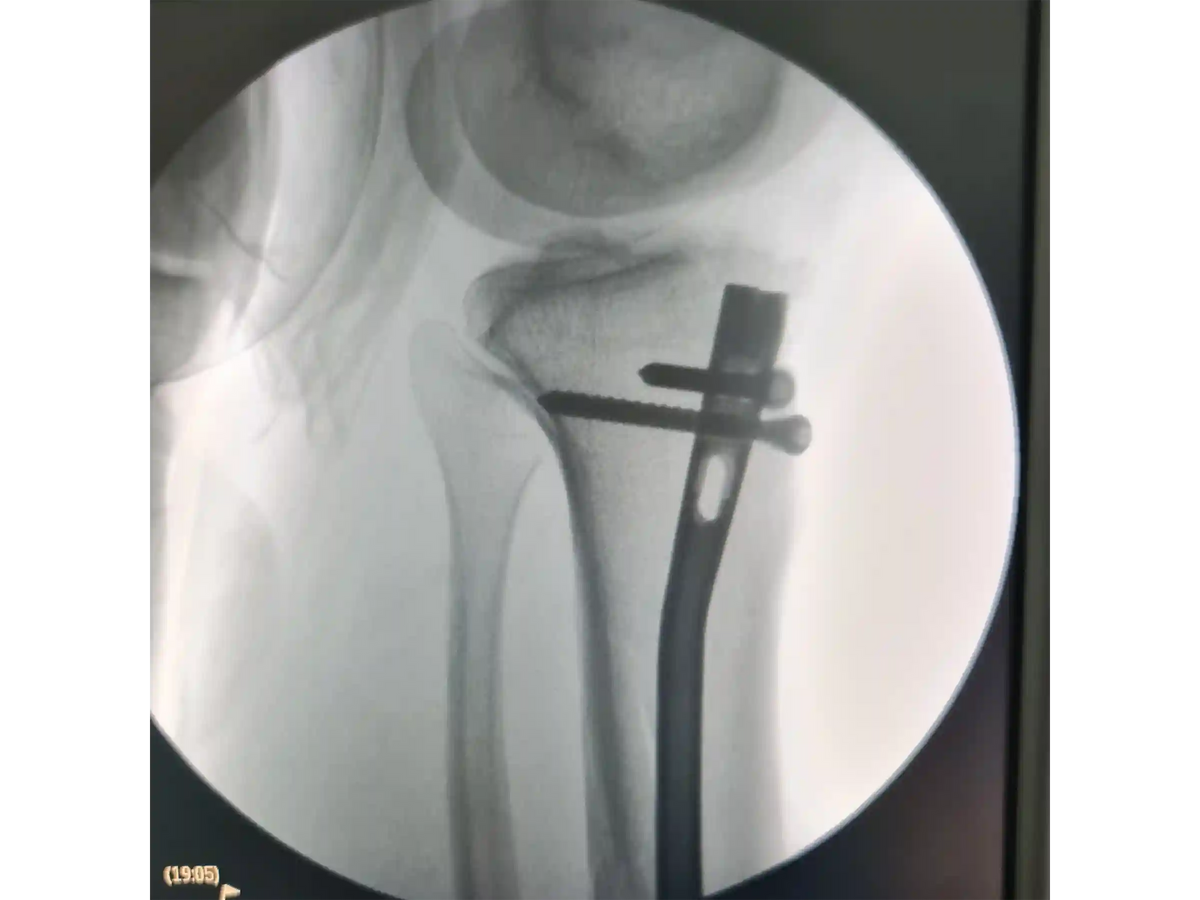
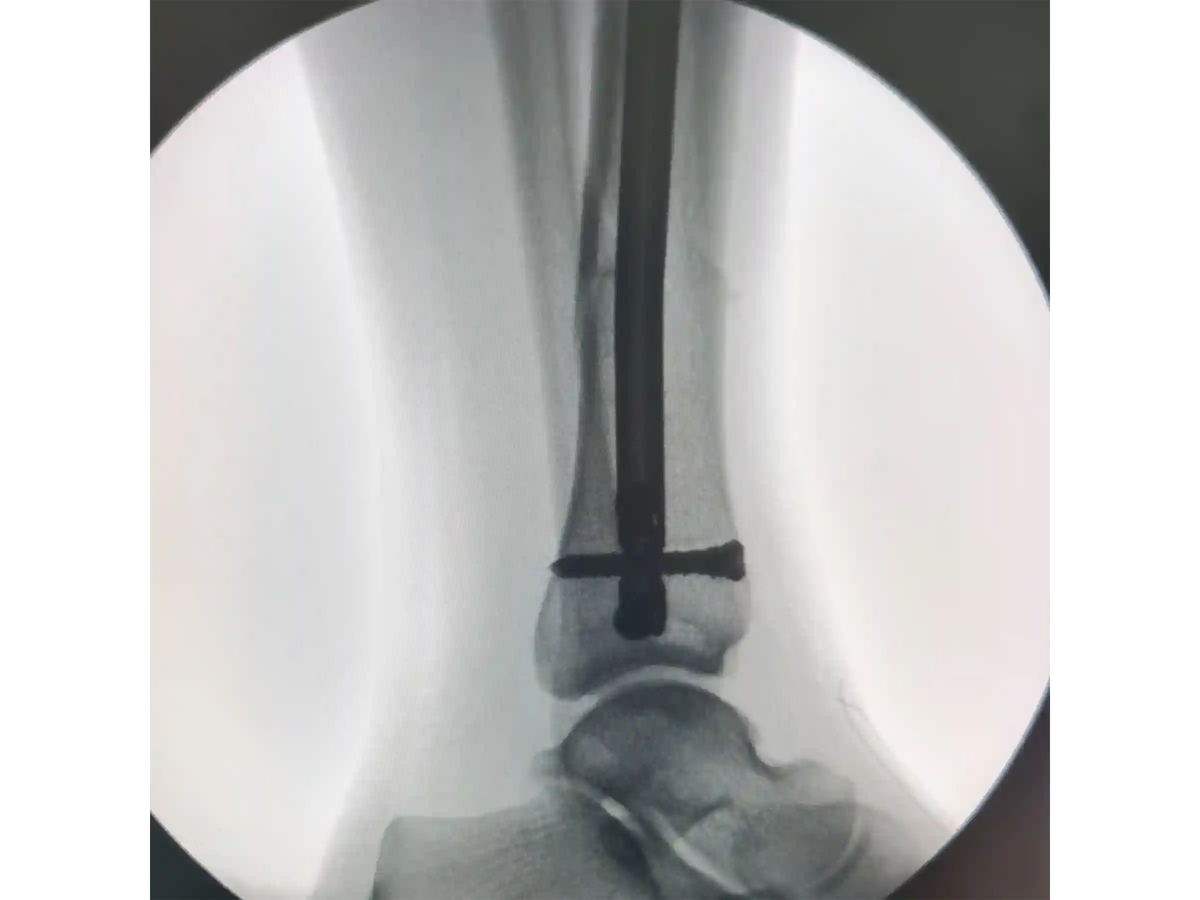
This educational case presents a segmental tibial diaphyseal fracture with an associated mid-third fibular fracture treated with tibial intramedullary nailing through a lateral parapatellar portal. The discussion follows the procedural reasoning from patient positioning and fluoroscopic planning to portal selection, guidewire placement, reaming, nail insertion, proximal locking, distal locking, and end-cap placement.
The case emphasizes how the lateral parapatellar portal was selected based on patellar mobility, soft-tissue tension, and the ability to obtain a favorable attack angle while preserving the patellar tendon and working extra-articularly. Key technical considerations include marking the tibial canal axis, maintaining AP and lateral fluoroscopic control, using guidewire curvature to improve trajectory, protecting soft tissues during reaming, and monitoring the segmental tibial fragment to avoid unintended rotation during canal preparation.
The distal fragment is close to the ankle region, making central guidewire positioning and distal nail alignment important educational points. The case also demonstrates the importance of aligning small distal-locking incisions with the nail holes under fluoroscopy to reduce soft-tissue conflict during screw placement.
Learning objectives
- How to plan a lateral parapatellar portal for tibial intramedullary nailing based on patellar mobility and soft-tissue tension
- How supine positioning with modest knee flexion can support fluoroscopic access and guidewire control
- How to identify and protect the patellar tendon while maintaining an extra-articular working pathway
- How AP and lateral fluoroscopic views guide the starting point and guidewire trajectory
- How guidewire curvature can assist passage toward the center of the distal tibia and ankle region
- Why controlled, intermittent reaming may be important in a segmental tibial shaft fracture
- How tactile monitoring of the intermediate segment can help recognize and avoid rotational stress during reaming
- How to introduce the nail carefully across the fracture region while minimizing unnecessary force
- How proximal and distal locking steps are performed with fluoroscopic confirmation
- Why distal-locking skin incisions should be aligned with the nail holes to reduce soft-tissue conflict
Topics covered
- Case-based procedural overview
- Portal selection rationale
- Supine positioning and knee-flexion setup
- Fluoroscopic marking of the tibial canal axis
- Extra-articular lateral parapatellar access
- Patellar tendon identification and protection
- Guidewire insertion and trajectory correction
- Use of an olive-tip guidewire with distal curvature
- Controlled reaming strategy in a segmental fracture
- Intramedullary nail insertion technique
- Proximal locking screw placement
- End-cap placement considerations
- Distal freehand locking technique
- Soft-tissue-conscious incision planning
Target audience
- Orthopedic trauma surgeons
- Orthopedic residents and fellows
- Trauma surgery educators
- Medical learners studying tibial shaft fracture fixation
- Operating room professionals involved in orthopedic trauma education
Educational notice
This content is intended for medical and procedural education only. It does not provide medical advice, does not replace formal surgical training, and does not establish a standard of care. All procedural decisions require appropriate clinical evaluation, institutional protocols, imaging review, supervision when applicable, and mandatory human expert review.
Choose options
